Above is a revised mold half with slightly adjusted geometry and pockets for the mold plug inserts. This time around I chose to seal the MDF molds and prep for release. First step was to coat it with surface primer, Duratec 707, which is easily sand-able. I applied with a brush since I don't yet own a spray gun...not advised. The brush marks were difficult to sand out and I ended up applying additional thicker coats.
This was followed by sanding/polishing 400 -> 2000 grit. I then applied ~6 coats of Partall wax and two coats of PVA mold release film. The near completed molds are shown below. I later did some dremel work to expand the pockets for the plugs since finishing pass was with a 1/2" ball end mill, I didn't get the desired detail.

During the first molding attempt, the curing time was extended due to low temperatures in the shop. To better control the cure process, and to post cure providing better epoxy cross-linking, I build a small oven. The simple setup is insulating foam with a 60W light bulb as the heating source. This will ramp up to 160F in about an hour. Initial cure will be 24 hours at ~70F and then several hours at ~150F. I also use this to warm the epoxy before mixing as the viscosity is far too high as 50F.

Next step was to fabricate the mold plug inserts to control the ID of the tubes. I chose to use UHMW PE which is largely epoxy-phobic. This material does have a high rate of thermal expansion, so these were cut undersized to allow for expansion during cure.
A lathe would be ideal, but I opted to use the router with some creative clamping.

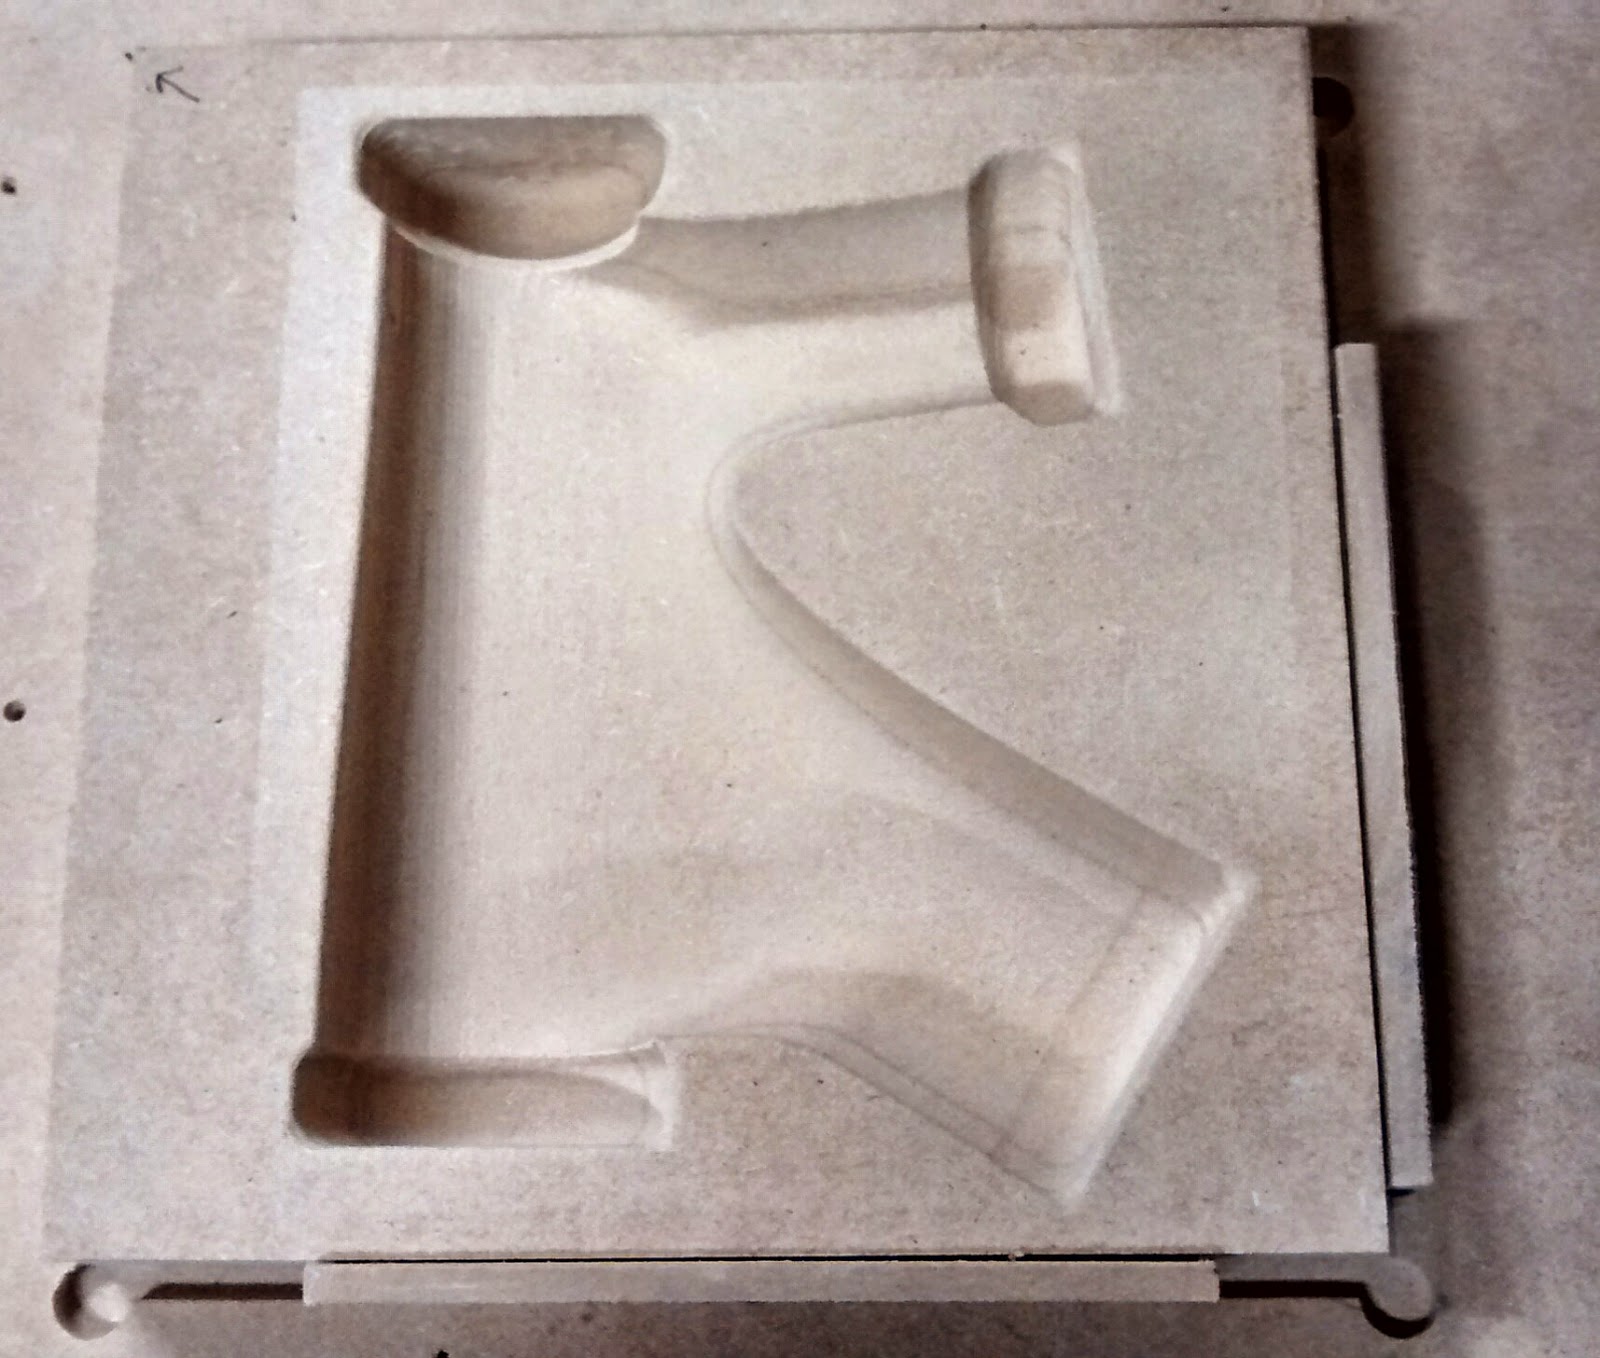
The photo below shows the mold with the plastic inserts. For the headtube I am attempting to direct mold the integrated bearing cups. This will save cost and weight as press in bearing cups aren't required.

Keep posted for the layup of headtube lug V2. Thanks to Adam and Rob for advice on the mold creation and layup process.
No comments:
Post a Comment